In part 1 we discussed the ability of Nutanix AOS to rebuild from a node failure in a fast and efficient manner thanks to the Acropolis Distributed Storage Fabric (ADSF). In part 2 I wanted to show how a storage container can be converted from RF2 to RF3 and the speed at which the operation can be completed.
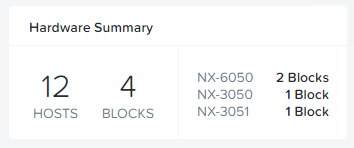
For this testing, only 12 nodes exist within the cluster.
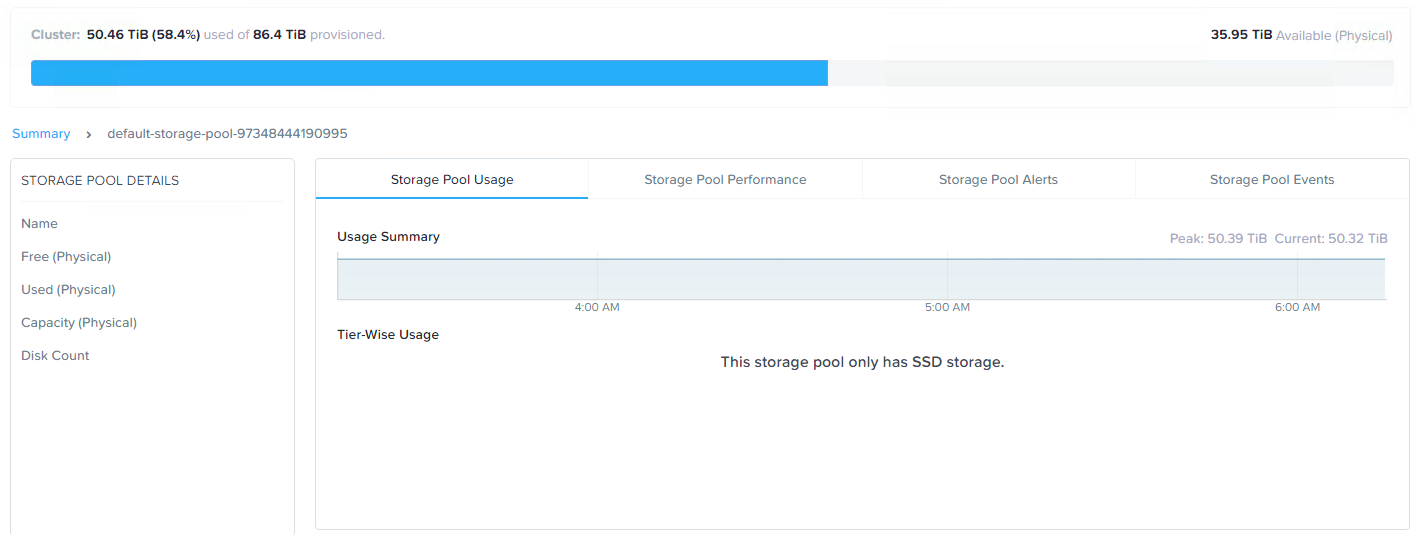
Let’s start with the storage pool capacity usage.
Here we see just over 50TB of storage usage across the cluster.
In converting to RF3, or put simply adding a third replica of all data, we need to ensure we have enough available capacity otherwise RF3 wont be in compliance.
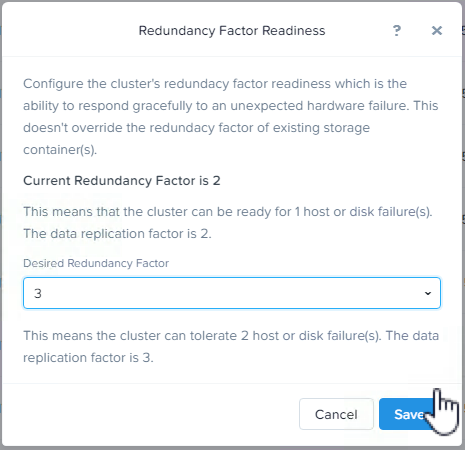
Next we increase the Redundancy Factor for the cluster (and metadata) to RF3. This enables the cluster to support RF3 containers, and to survive at least two node failures from a metadata perspective.
Next we increase the desired Storage Container to RF3.
Once the container is set to RF3, curator will detect the cluster is not in compliance with the configured redundancy factor and kick of a background task to create the additional replicas.
In this case, we started with approx 50TB of data in the storage pool, so this task will need to create 50% more replicas so we should end up with around 75TB of data.
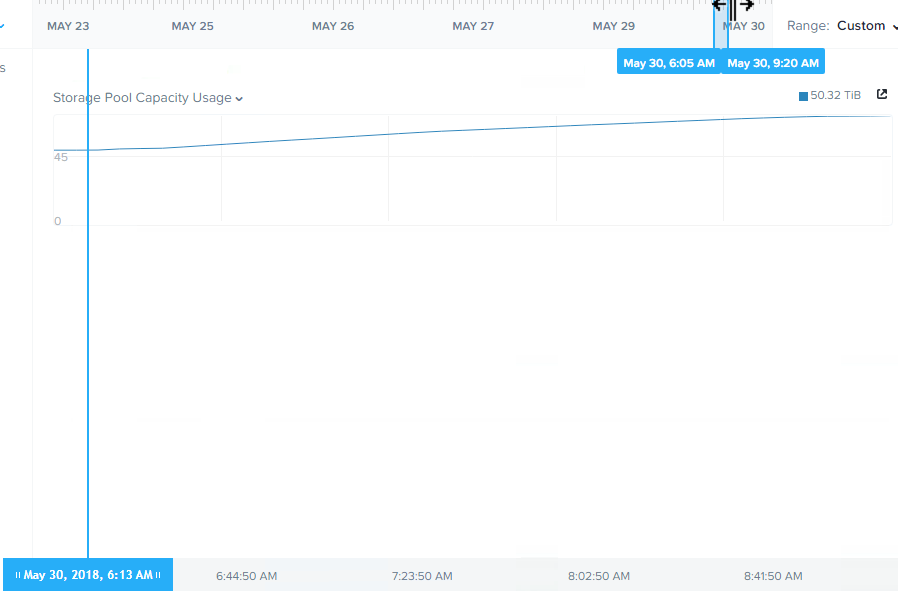
Let’s see how long it took the cluster to create 25TB of data to comply with the new Redundancy Factor.
Here we see throughput of over 7GBps and the process taking less than 3 hours, so approx 8.3TB per hour. It is important to note that the cluster remained fully resilient at an RF2 level throughout the whole process, and had new writes been happening during this phase, they would all be protected with RF3.
Below is a chart showing the storage pool capacity usage increasing in a very linear fashion throughout the operation.
Had the cluster been larger, it is important to note this task would have performed faster, as ADSF is a truely distributed storage fabric and the more node, the more controllers than participate in all write activity. For a great example of the advantage of adding additional nodes check out Scale out performance testing with Nutanix Storage Only Nodes.
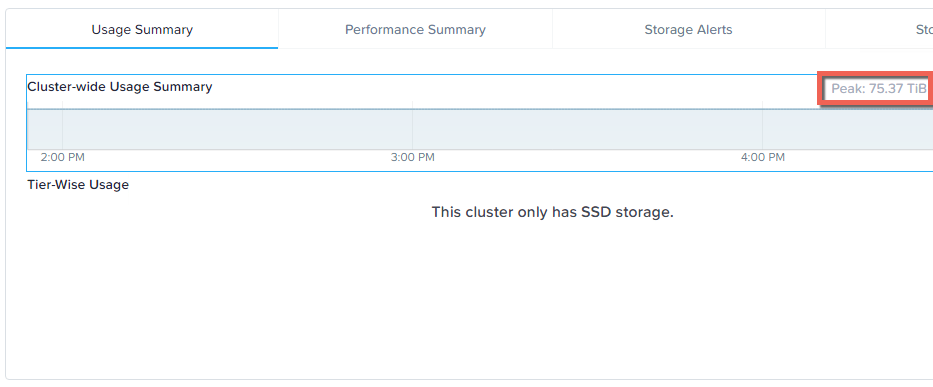
Once the operation was completed we can see the storage pool capacity usage is at the expected 75TB level.
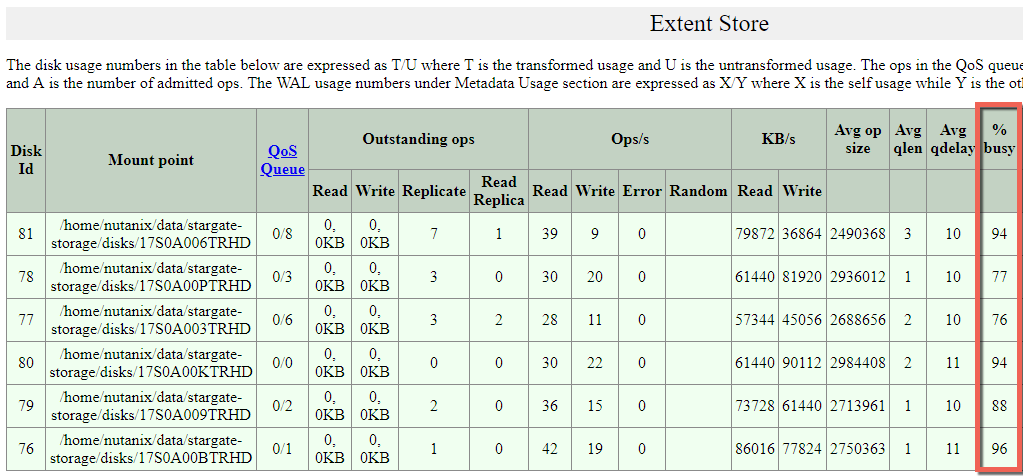
For those who are interested how hard Nutanix ADSF can drive the physical drives, I pulled some stats during the compliance phase.
What we can see highlighted is that the physical drives are being driven at or close to their maximum and the read and write I/O is being performed across all drives, not just to a single cache drive and then offloaded to capacity drives like less intelligent HCI platforms.
Summary:
- Nutanix ADSF can change between Redundancy levels (RF2 and RF3) on the fly
- A compliance operation creating >25TB of data can complete in less than 3 hours (even on 5 year old equipment)
- The compliance operation performed in a linear manner throughout the task.
- A single Nutanix Controller VM (CVM) is efficient enough to drive 6 x physical SSDs at close to their maximum ability
- ADSF reads and writes to all drives and does not use a less efficient cache and capacity style architecture.
Index:
Part 1 – Node failure rebuild performance
Part 2 – Converting from RF2 to RF3
Part 3 – Node failure rebuild performance with RF3
Part 4 – Converting RF3 to Erasure Coding (EC-X)
Part 5 – Read I/O during CVM maintenance or failures
Part 6 – Write I/O during CVM maintenance or failures
Part 7 – Read & Write I/O during Hypervisor upgrades
Part 8 – Node failure rebuild performance with RF3 & Erasure Coding (EC-X)
Part 9 – Self healing
Part 10: Nutanix Resiliency – Part 10 – Disk Scrubbing / Checksums

